Then we sanded in random spots on the flat parts of the chairs too. We then painted on a coat of polyurethane, sanded with an electric sander to make it smooth and painted on another coat of polyurethane. It has been a year now and they have held up so nicely!! Dirt and grime just wipe off easily!
Next came the covering of the Naag-a-hide!! Brown kaka looking stuff! I left it on and just covered it up!
Here I am as Vanna White hahah
Step 1. Remove the seat from the chairs and save the screws somewhere where you can find them again
Step 2. Make sure your work surface is large enough to handle your chair seat as you will be flipping it around. Oh and cover your worksurface...I scratched my daughters table (oops)
Step 3 lay your fabric on work surface pretty side face down. Place seat on top with with back facing up and bum sitting area down.Step 4 Starting on one side pull fabric in center and staple 2 or 3 staples. Move to opposite side and repeat. Go to the other opposite sides and repeat. Then work your way all around the piece...pulling and stapling all around. (this allows the fabric to stay centered and not pull to one side) Check to make sure the fabric is centered nicely..if not remove staples and fix....or as my grandson would say "fits it grandma". Leave corners undone for now...I will show you how to do the corners below.
4. Here is the corner area undone...Pull up the center towards the seat...make it nice and smooth.... and then on the two edges fold to make everything nice and smooth.


 Depending on the size of cake plate the waist band might have to be temporarily glued on or it might just button right up.
  Once these two item were together I needed some red. So I got out my red and white striped
  I loved how this part of the centerpiece turned out! Rustic and yet new!
  ROOT BEER BOTTLES


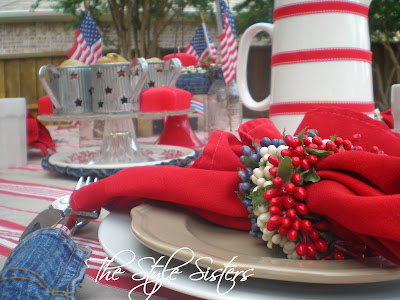
 Isn't that pitcher just so amazing back there all stripey and cute!!


 I hope your 4th of July is filled with family and fun as we remember all those who died on our behalf for freedom here in the greatest country ever... the USA!!


